INSTALLATION PROCESS

When you hire Egress Solutions, you will deal directly with Mark and Drew Shafer on all aspects of your basement egress project. After contacting us for your free estimate and answering all your questions, we will set up a convenient time to come out to your house for a site evaluation. Once you pick your products, sign the proposal and we receive your deposit, you will be added to our installation calendar. We will then apply for the permit, call Miss Dig and provide all the materials needed. Each window installation usually takes just one day to complete.
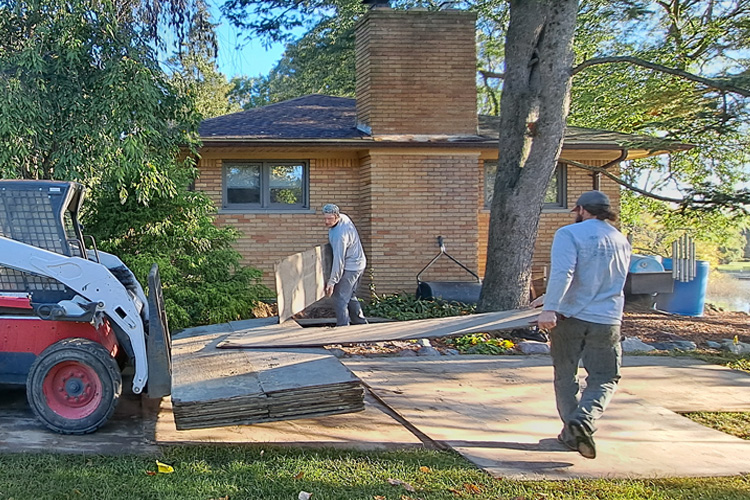
1
Cover your lawn with plywood to help prevent any damage to your lawn.
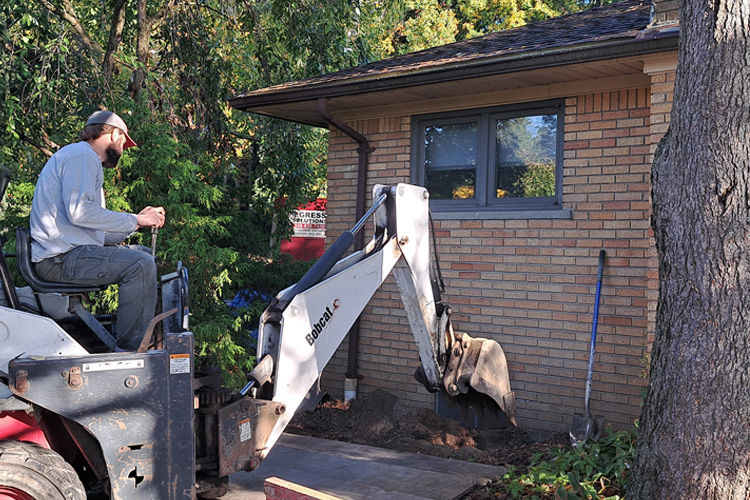
2
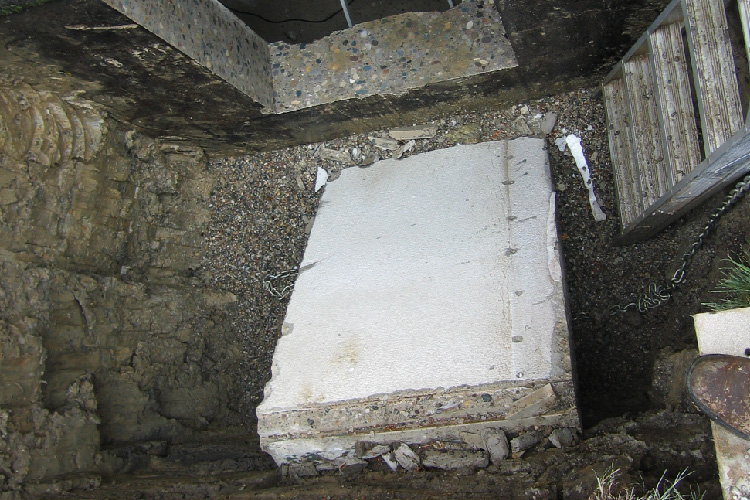
Excavate for the window well and dig down to your perimeter drain.
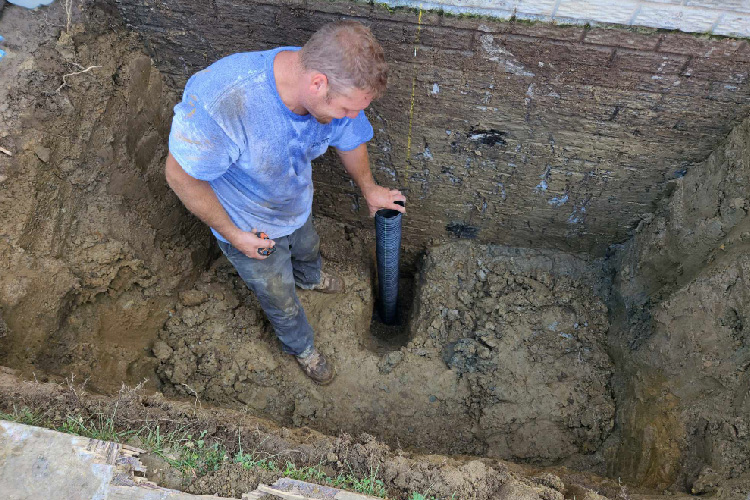
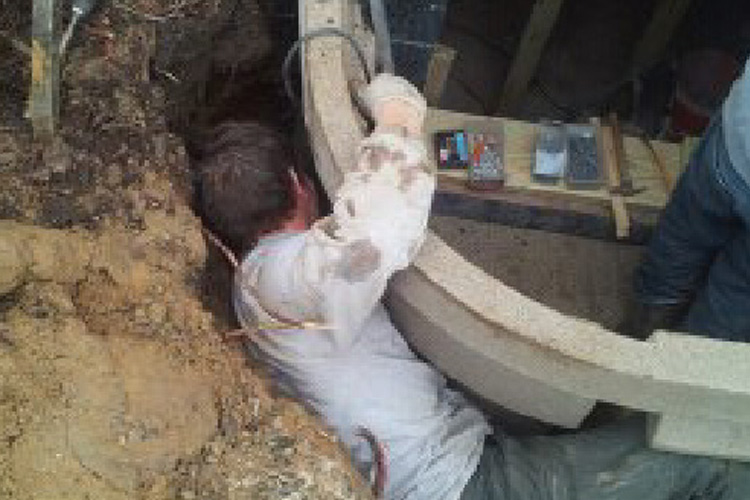
3
Install a new 4" drain riser into your weep tile.
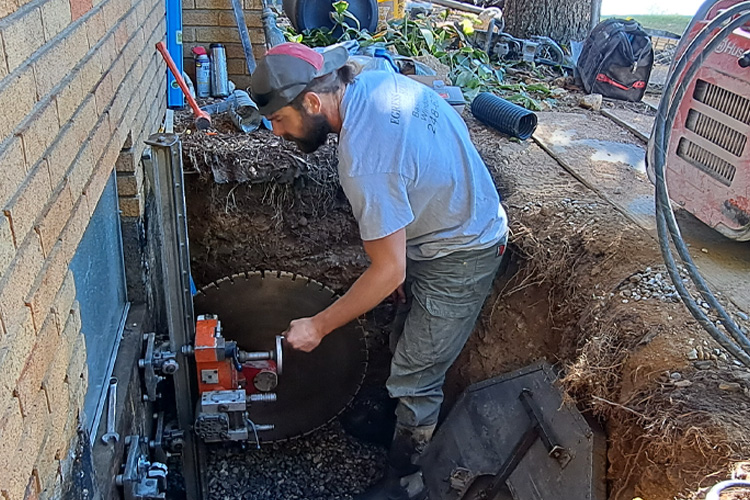
4
Cut a hole for the window with a track mounted saw for straight accurate cuts.

5
Corners are finish cut with a cement chain saw so there is no over cutting. All cutting is done from the outside, so no dust or fumes in the house.
6
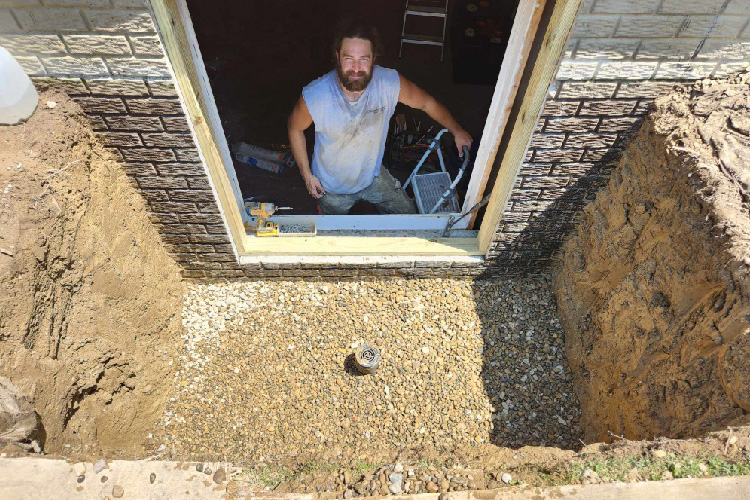
Frame in the window with pressure treated lumber.Install a brick header/lintel if needed.
7
Install the egress window well.
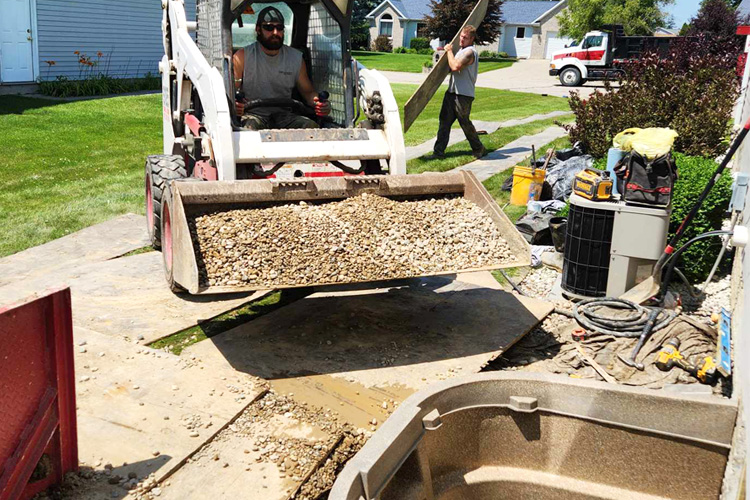
8
Backfill with pea stone, so there are no settling issues. Add top soil and slope it away from the well and house for best drainage.
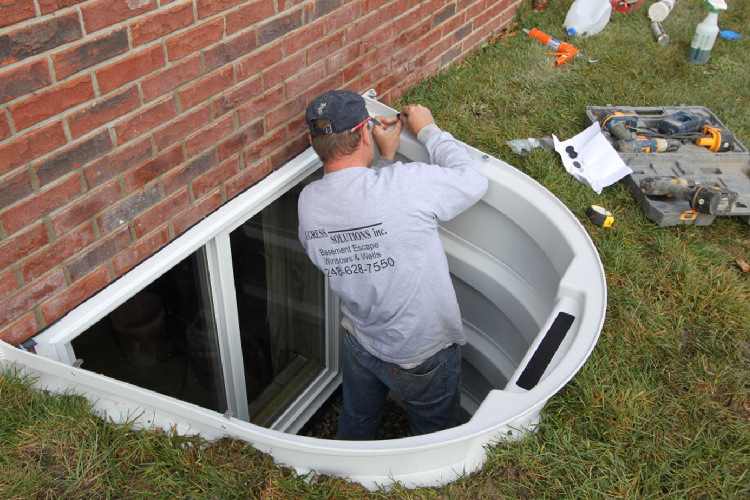
9
Install the egress window and trim the exterior to be maintenance free.
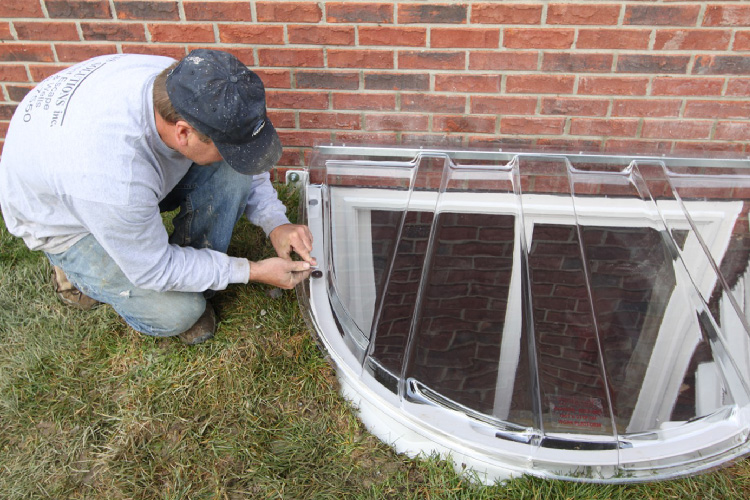
10
Install the cover to keep people and debris from falling into the well.
11
Clean up your yard, haul away all concrete, dirt and debris.
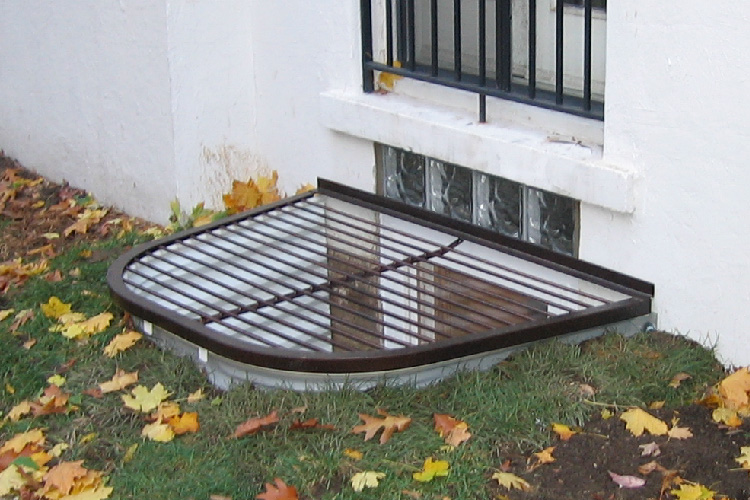
12
Leaving you with a beautiful finished basement egress window system!